Thursday, 18 July 2013

Post iMac notes

My new iMac 27inch with Mountain Lion OSX 10.8 is running VASSAL very smoothely and far faster. I've had to alter a few hotkeys not to conflict with the operating systems hot keys - but it's much better overall. The big screen is a dream to look at and vindicates my policy of constantly overdetailing my pngs, since now they are viewable in 200% size and look fine.

Anyway - even better than I'd dreamed it would be....

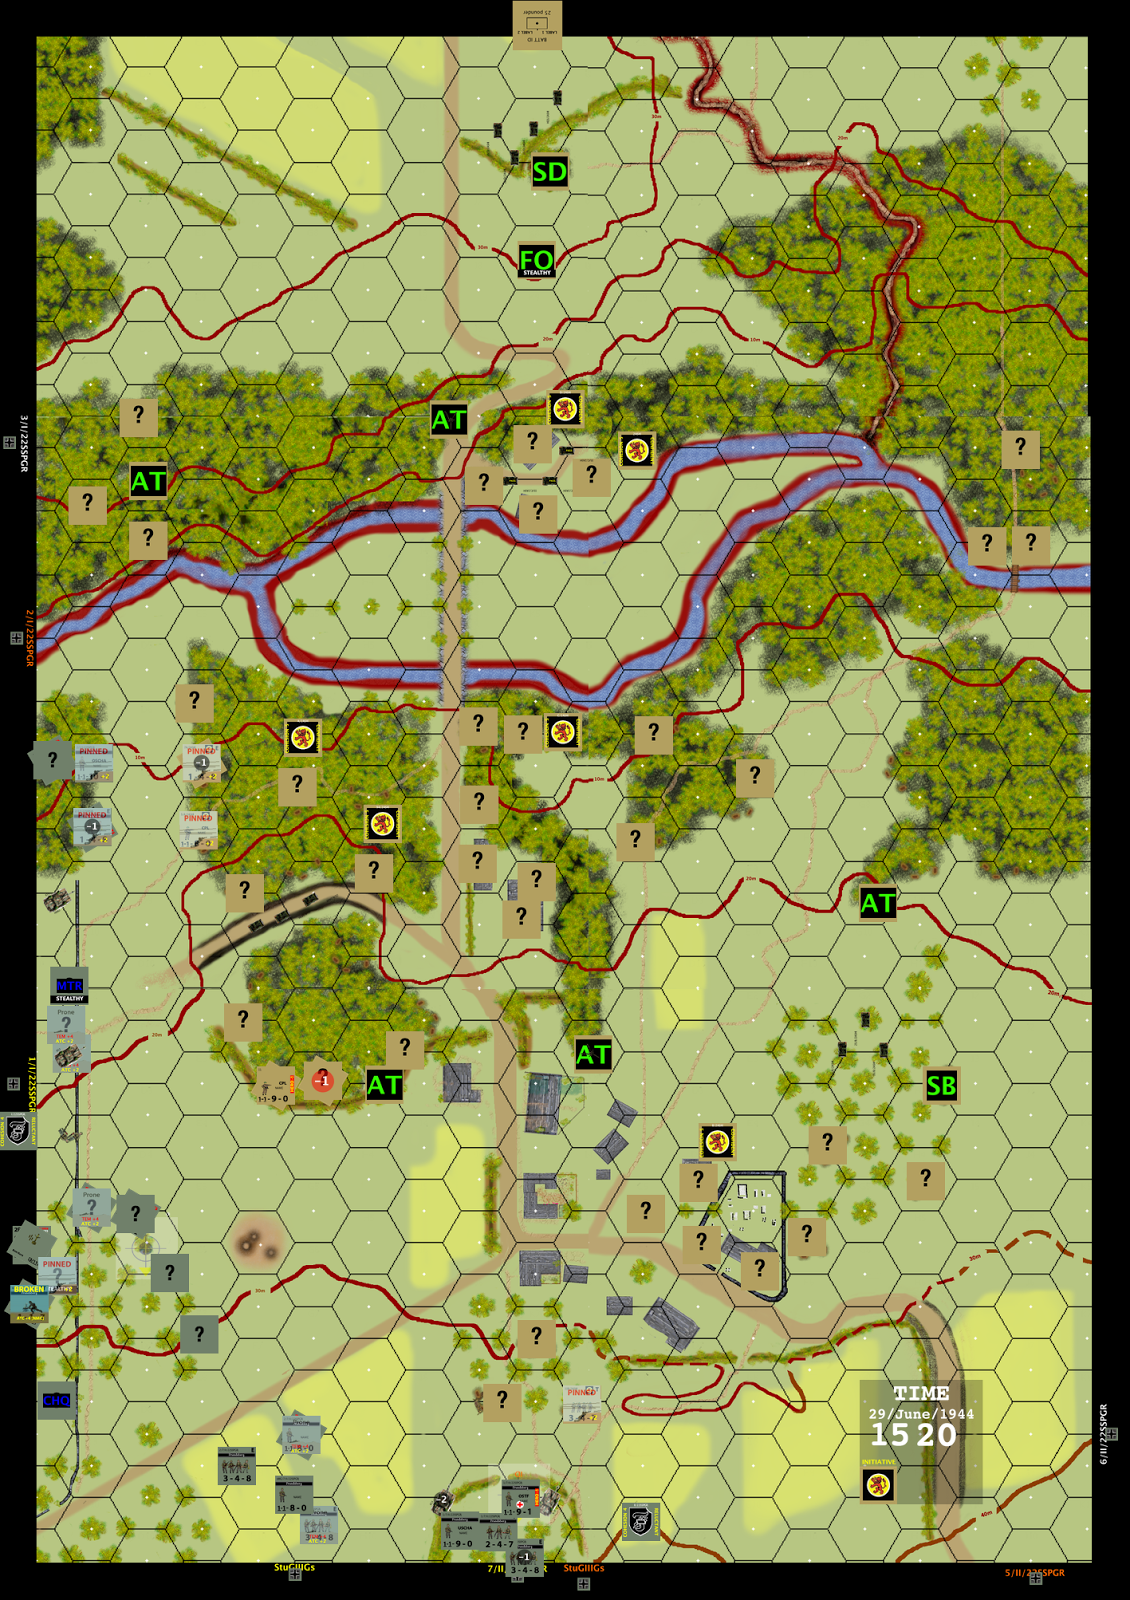
GAVRUS post iMac!


Monday, 15 July 2013

GAVRUS new rules notes

OK. Everything pretty much does what I want. The Germans have plenty of advantages and can overcome the outer defences easily enough BUT the British artillery tends to ruin all their hard work in a sudden crushing blow.

One thing I like is it's NOT possible for the Germans to use their firepower to just kill the British in their foxholes. Once pinned they are pretty much invulnerable except to airbursting HE.

The British 2" mortars also wrought havoc but the ammo is dwindling and when it does the Spandaus rule.

I feel a need ot extend the map about 100m 2 hexrows) to the West and South to allo more room to deploy the mortars and other German units. I will tackle that with my new computer - should be the ideal learner project.

GAVRUS with new rules


Monday, 8 July 2013

BRECOURT MANOR - TEST


Easy Company survivors. All the Dog Company men died including Spiers. Winters lost about 2 men [A rifle cadre KIA and an MG crew reduced to a team]. Germans lost all their trenchline men and the rifle platoon in the headline were all reduced and replaced and are now surrendering.

A thorough success and the same result pretty much as the real battle. It did take well over an hour though and I think this is still out of step.

New rules worked well. Easy to keep heads down once they are pinned and easier to move as a result. US leadership and firepower plus large and increased number of heroes carried the day. There was a lot of Heat of Battle. 2 new US HEROIC 9-0s. Malarkey raised to a 9-0 and the Germans gained a Heroic 9-0 leader from their 8+1 and also battlehardened the crew of the last gun. This enabled them to kill off Spiers and his men and to hold on a little longer.


Friday, 5 July 2013

MORE PINNING - LESS KILLING


My Updated AIFT. [Accumulated Infantry Fire Table - maybe - can't find a really good acronym but I do like it to be AIFT not IFT]. Anyway. It has a lot more Ps which mean PTC = pin task check.

Thus it doesn't matter how much cover you are in if you are fired at you must take a PTC. Most units will pass 1 PTC no problem. Half will pass 2. Only one in 3 will pass 3 etc.

The effect of this is to make PINNING a lot more likely and feasible even with small amounts of firepower. Also, once the enemy are pinned it is easier to keep their heads down because PINNED not under fire targets do not take PTC - they automatically become PINNED UNDER FIRE with no DR and no chance of HOB. [I decided to apply this to PRONE/HEADS DOWN targets too, since they are effectively 'voluntarily pinned']

Another feature is BROKEN units will take a lot more PTC = MC for them and therefore have to ROUT or RALLY rapidly. They cannot hang about under fire and expect to survive for long. I like this effect though I hadn't thought about it before.

The HSR to ignore PTC unless already PINNED NOT UNDER FIRE by fresh troops will now have more impact. A maxim I have is that if a rule is too effect subtle to register in play it is best deleted. Chances are it would be forgotten anyway.

NOTE - The NOT IN COMBAT -1 ATC DRM is very important but as soon as someone within 100m is PINNED UNDER FIRE it cannot be used, even if that unit manages to unpin and move/fire the UNDER FIRE marker is separate and remains in that location until the INITIATIVE switches over.


Thursday, 4 July 2013

PLASTIC RULES

F&M has for me the virtue of plasticity. I can change anything whenever I like and see how it works without any expense or need to square it with anyone else. Sometimes it might be nice to have another pair of eyes to proofread and another point of view, but on balance the ability to go my own way is a bigger positive.

So - lately I've been reading a lot about SUPPRESSION and how hard it is to cause casualties on troops in COVER who keep their heads down. Even troops in open ground who lie down are hard to spot let alone hit.

As such I've altered all my TEM [TARGET EFFECTS MODIFIERS] to better reflect these ideas.

Biggest change is a +4 for PRONE/HEADS DOWN targets that is cumulative with all other TEM for terrain. I used to have it at +2. Each +2 halves the FP and roughly halves the effects of the fire. This means troops lying flat in open ground are 8X harder to effect than troops standing up.

I've got a quirk in that linear features such as walls and bocage have only +3 TEM and if firing the troops behind them cannot be heads down. You are therefore better off lying down on the other side of the wall! Except - if you do go heads down behind the wall you can have +7 which is practically invulnerable to enemy fire and you can still pop up and shoot if you have an opportunity.


Current TEM

STONE BUILDING             +4
WOODEN BUILDING        +2
WALLS                                 +3
BOCAGE                              +3
LIGHT BOCAGE                 +2
FOXHOLES/TRENCHES    +4

I have a lot more. I used to have a lot of variation in TEM for HE fire, but have dropped this. It's fiddly and seldom matters. If anything the concussive effect of HE and tendency to pick up debris and turn it into shrapnel offsets any disadvantage because the fire is not 'aimed'. Aimed fire is rather exaggerated for small arms and even MGs anyway. I just have special HE drm for AIRBURSTS and in soft ground or stony ground.

I embarked on this because it had been too easy for Germans on the defence to pin down advancing infantry (OK with THAT effect) but then kill them off with sMG fire which I think was quite difficult. The MGs PIN and mortars or HE broke the attacks (when this did happen).

Sunday, 9 June 2013

Thursday, 6 June 2013

Saturday, 1 June 2013

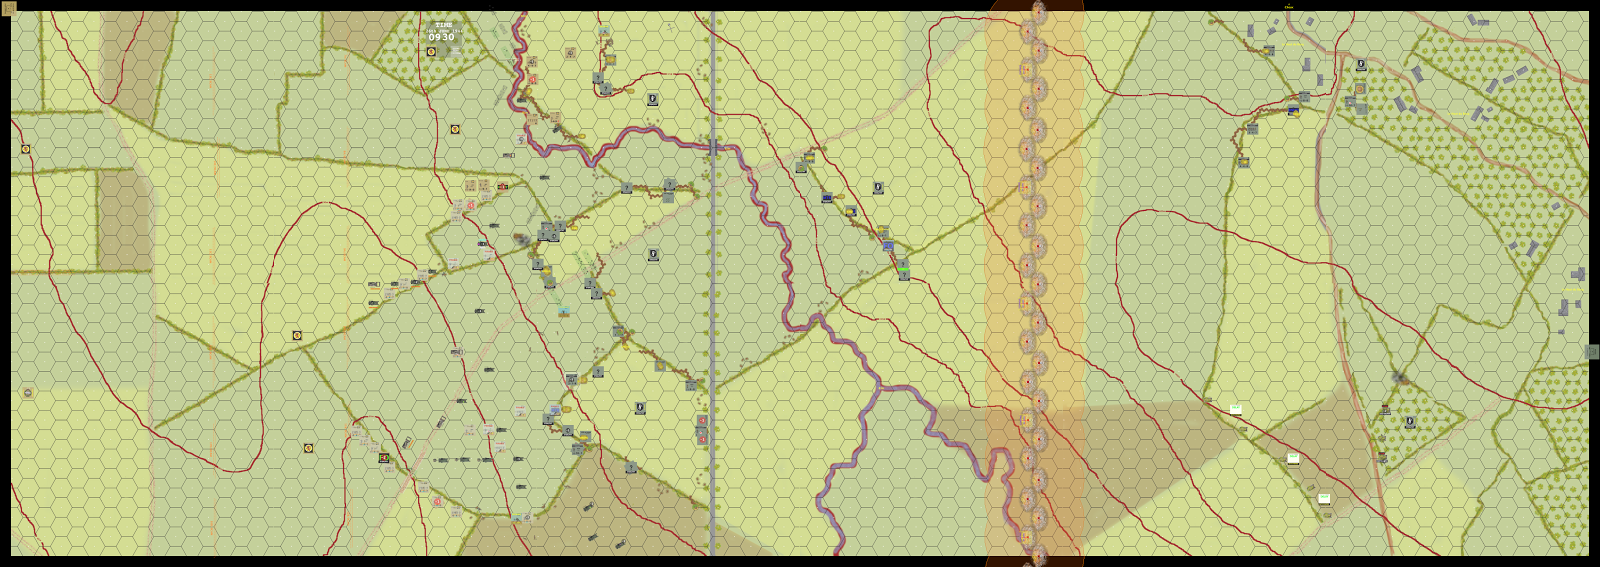
CAMCOR C2 at 1010


Sadly it's not going at all well for the British. 9CAM are down to about 18 sections so about 50%. Another Crocodile is knocked out - by a long range Panzerfaust shot - and this time unlikely to recover.

All along the line the attack has stalled and the Germans are still in good shape with many key weapons still in operation and enough infantry to protect them. I forsee another hour or more before they can cross the grey road all the while the Germans will be inflicting losses. The 7RTR Churchills are a huge disappointment. Unable to get close because of LATW and buttoned up because of snipers and small arms they can contribute little. 4 are burning and one is immobilised in the stream.

This is a very tough fight for the British and I can't see how in all realism I can alter the balance. This German OB is if anything thinner than it was in history [should be 1/2 a battalion + a company of tanks]. I could beef up the bombardment since it achieves little but the Germans were pretty well dug in and that's what keeps them alive. Needs some thought.

Friday, 31 May 2013

CAMCOR C3X at 1000am


I'm soldiering on with this game to test numerous alterations to my rules for ORDERS and also to the controls to make play 'slicker' - in theory at least. I've made little DIY ICONS for my toolbar which are nice to look at and easier to find.

Removing the blue and red DIAMONDs that are needed to place info markers when not in use also reduces clutter. I've decided to return to Artillery coounters to represent the batteries and they could suffer counter battery fire under some circumstances.

 Order rules are really tricky. I want to avoid pages of verbiage that ends up meaning little while at the same time having orders rules that are simple, avoid anomalies and have some impact. Before most of the time they made no actual difference and I've considered discarding the whole idea. I do like my radios and runners and order chits though, so wll persevere with my latest ideas.


Saturday, 25 May 2013

Thursday, 23 May 2013

Saturday, 18 May 2013

Wednesday, 15 May 2013

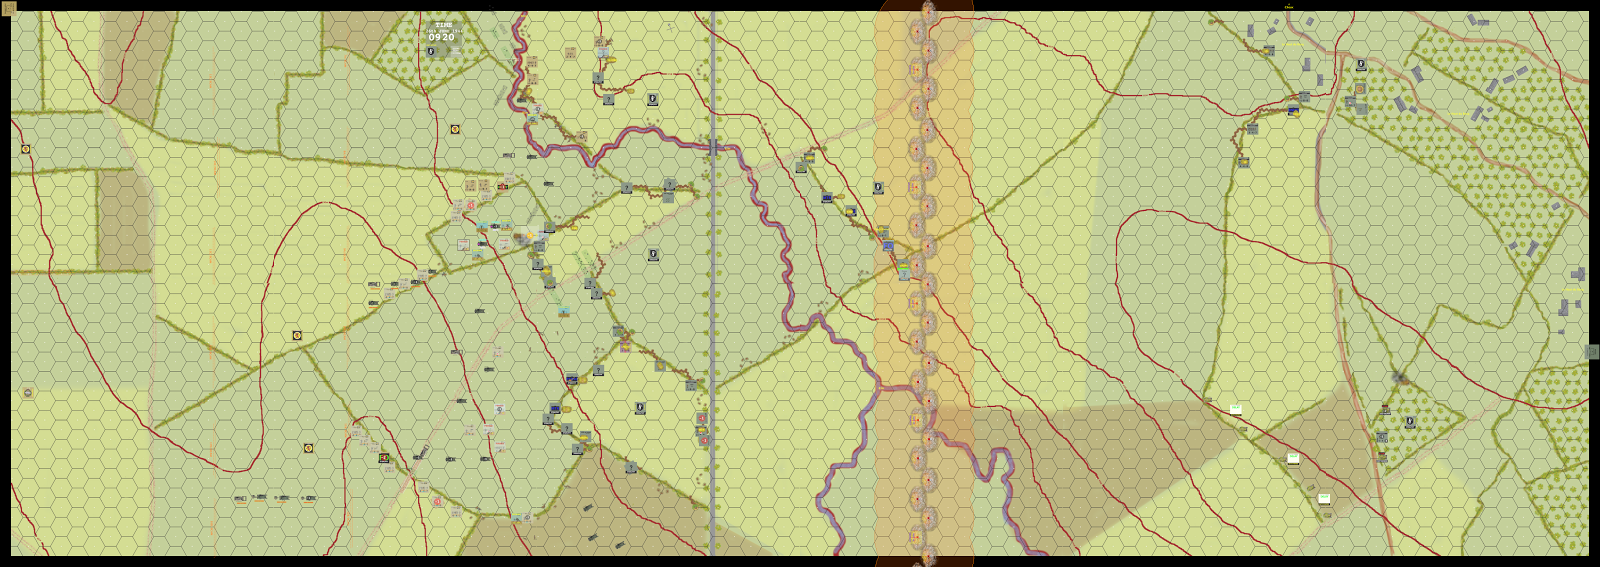
CAMCOR C2XXX 0912

7RTR are all on and moving up to support 9CAM. The hedges are a nuisance and are slowing the advance however. 
The Western flank has made good progress and have men in the German trenchline while an intact platoon [No. 12] is keeping up with the barrage and in danger of getting isolated. I will probably have them stop and take cover in the stream.

Meanwhile a troop of 7RTR are on and making their way forward to support B/9CAM.

Losses are high with several sections wiped out or very badly hit. The two [only!] German snipers have been deadly and are still active and concealed. Sniping by German riflemen has also been effective, especially from the 'Pionieren'. Most balanced and intersting game of this scenario so far.

Sunday, 12 May 2013

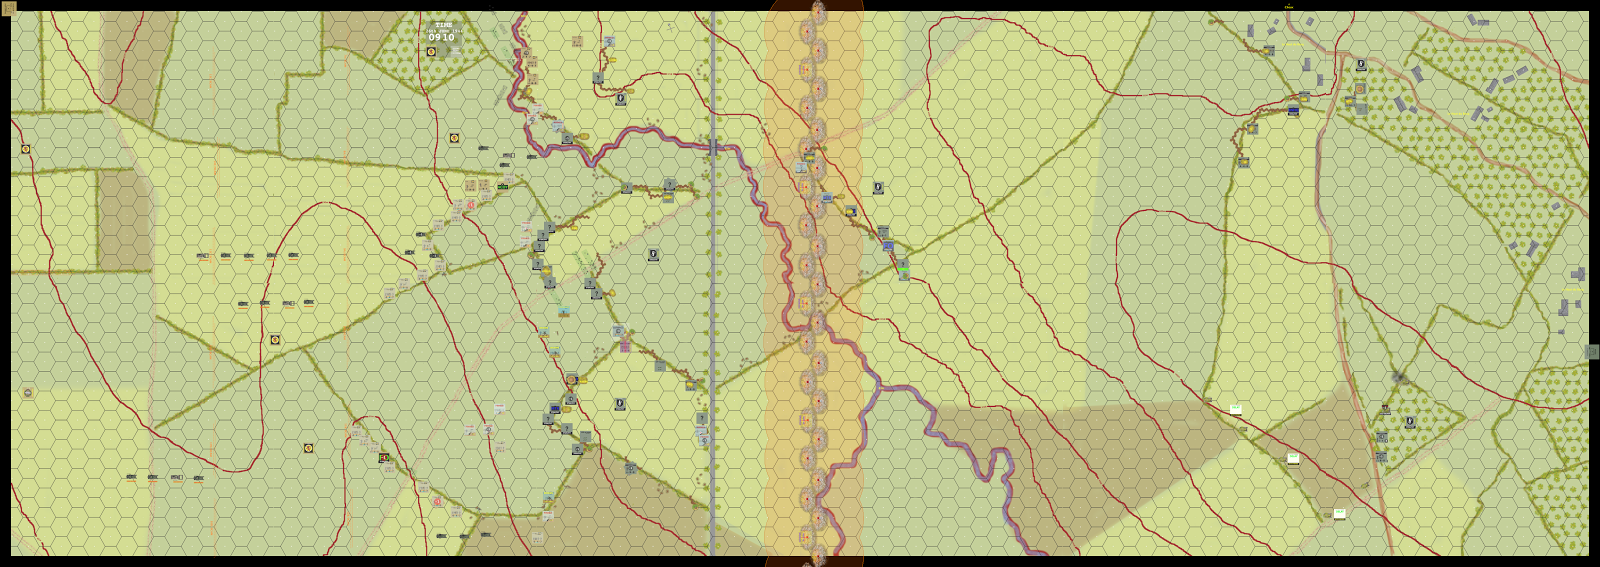
CAMCOR C2XXX

 Only B/9CAM are on the move and have taken the regiment's first casualty due to sniper fire.
 Orders are not getting through to 9CAM and only B company have stepped off on schedule and are right up behind the barrage.
The bombardment has hit the tanks hard and knocked out 5 of the 11. 2 are damaged so we can say about 6 tanks are going  be 'operational'. The mines and wire are pretty badly smashed up and all but the OPs phone line is cut. Not many losses among the infantry though. Overall quite a moderate result.

Thursday, 9 May 2013

CAMCOR MAP with extra contours


Real ground is not a series of stepped terraces (except in odd places like Sapa). The contours on a map indicate how the land rises and falls in smoothe curves. [Mountainous terrain with cliffs etc is of course different.]

We can distinguish between 'concave' slopes where the distance between contours decreases as we go uphill and convex slopes where the distance between contours increases as we go uphill.

Concave slopes allow uninterrupted LOS for as long as the slope remains concave.

Convex slopes have large areas of dead ground that an observer higher up the hill cannot see. Effectively intervening contours cast a shadow.

The following diagrams illustrate this.